Mac guide
How to take a screenshot on Mac.
Every Mac can take a screenshot with a keyboard shortcut — no extra software required. Here's every built-in method, where your screenshots go, and how to turn a plain capture into something you're happy to share.
Updated July 2026 · Works on macOS Sonoma, Sequoia, and later
The short answer
- Capture the whole screen
- ⌘⇧3
- Capture a selected area
- ⌘⇧4
- Capture a window or menu
- ⌘⇧4 thenSpace
- Open the screenshot toolbar
- ⌘⇧5
- Copy to clipboard instead of saving
- add⌃ Control
Capture the whole screen
Press ⌘⇧3
Hold Command and Shift, then press 3. macOS captures everything on your display and saves it to the Desktop. If you have more than one monitor, you get one screenshot per screen.
A small thumbnail floats in the bottom-right corner for a few seconds. Click it to mark it up right away, drag it into a document or chat, or just ignore it and the file saves on its own.
Capture a selected area
Press ⌘⇧4
This is the one most people use. The pointer turns into a crosshair — drag a box around the part of the screen you want and let go to capture it.
- Hold Space while dragging to move the whole selection without resizing it.
- Hold ⇧ to lock one edge, or ⌥ to resize from the center.
- Press Esc to cancel before you let go.
Capture a single window or menu
Press ⌘⇧4 then tap Space
After ⌘⇧4, tap the Space bar and the crosshair becomes a camera. Hover over any window, menu, or the Dock — it highlights — and click to capture just that element, cleanly cut out with a soft drop shadow.
Want it without the shadow? Hold ⌥ Option while you click. This is the tidiest way to grab a single app window without any background clutter.
The screenshot toolbar
Press ⌘⇧5
This opens a small toolbar along the bottom of the screen with every capture option in one place: whole screen, selected window, or selected portion — plus screen recording if you need it.
Click Options to set a countdown timer (handy for capturing menus that close), choose where screenshots save, and toggle the floating thumbnail. It's the control panel behind the other shortcuts.
Where do Mac screenshots go?
By default, every screenshot lands on your Desktop as a PNG named “Screenshot [date] at [time].png.” On a busy day that adds up fast.
To change it, press ⌘⇧5, click Options, and pick a folder under “Save to” — Documents, a dedicated Screenshots folder, or even straight to the Clipboard.
Copy to the clipboard instead of saving
Add ⌃ Control to any capture shortcut and macOS copies the screenshot to your clipboard instead of writing a file. So ⌃⌘⇧4 lets you grab a region and paste it straight into a message or doc — no Desktop clutter.
On a MacBook Air or MacBook Pro
Mac laptops don't have a Print Screen key, and they don't need one — the same shortcuts work everywhere. ⌘⇧3, ⌘⇧4, and ⌘⇧5 behave identically on a MacBook Air, MacBook Pro, iMac, Mac mini, or Mac Studio.
The part macOS leaves out
Now make it look good.
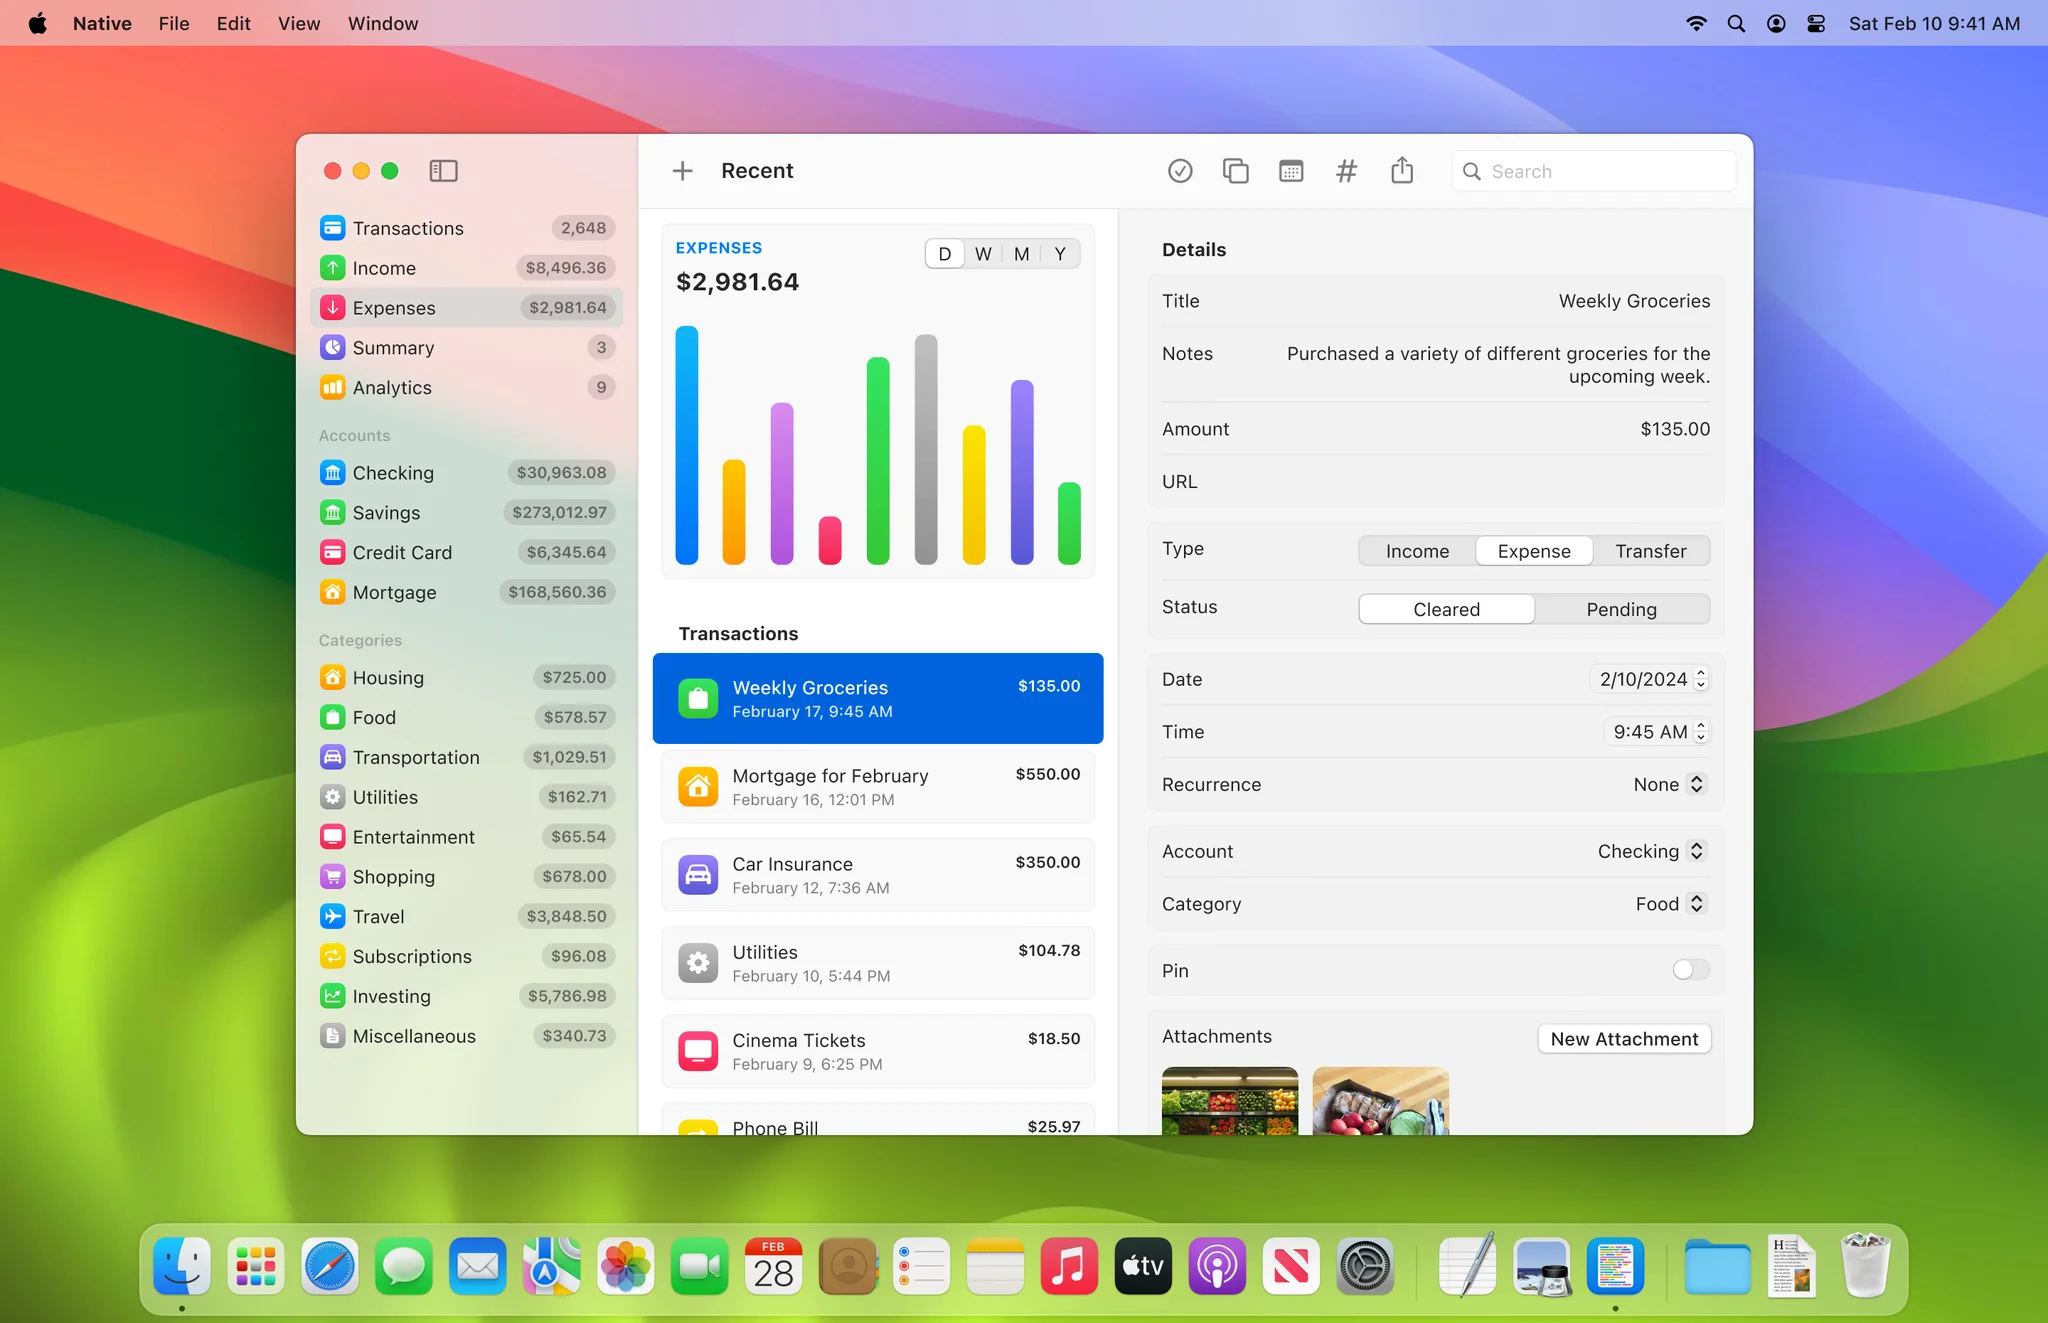
The built-in shortcuts give you a bare, flat PNG — perfect for a quick note, plain for anything public. A changelog, a landing page, a post: those deserve a background, rounded corners, and a real shadow.
That's what CaptureBear does. Press ⌘⇧1 instead, and your capture opens in an editor already styled — ready to annotate, redact, or tilt in 3D, then copy or share in one keystroke.
macOS 14+ · Apple Silicon and Intel · Free to try
Mac screenshot FAQ.
The quick answers people search for most.
What is the screenshot shortcut on a Mac?
Press ⌘⇧3 to capture the whole screen, ⌘⇧4 to capture a selected area, or ⌘⇧5 to open the screenshot toolbar with more options. All three are built into every Mac running macOS.
How do I screenshot a single window on a Mac?
Press ⌘⇧4, then tap the Space bar. The crosshair becomes a camera — hover over the window you want and click. macOS captures just that window with a clean white border and a drop shadow. Hold Option while you click to remove the shadow.
Where are screenshots saved on a Mac?
By default, Mac screenshots save to your Desktop as PNG files named “Screenshot [date] at [time].png.” You can change the location by pressing ⌘⇧5, clicking Options, and choosing a folder under “Save to.”
How do I copy a screenshot to the clipboard instead of saving a file?
Hold Control while you take the shot — for example ⌃⌘⇧4 for a selected area. Instead of writing a file to your Desktop, macOS copies the screenshot straight to your clipboard so you can paste it anywhere.
How do I take a screenshot on a MacBook Air or MacBook Pro?
The shortcuts are the same on every Mac laptop: ⌘⇧3 for the whole screen, ⌘⇧4 for a selection, and ⌘⇧5 for the toolbar. You don't need a Print Screen key — the keyboard combinations do the same job on a MacBook Air, MacBook Pro, iMac, or Mac mini.
How do I make my Mac screenshots look better?
The built-in shortcuts give you a bare PNG. To add a background, rounded corners, and a realistic shadow — or to annotate and redact — use a screenshot app like CaptureBear. Press ⌘⇧1 and your capture opens already styled and ready to share.
Screenshots worth sharing.
You know the shortcuts. CaptureBear takes it from there — beautiful by default, in one keystroke.
macOS 14+ · Free to try · One-time purchase